Evergreen Guide Decorating
How to Decorate a Real Christmas Tree: A Step-by-Step Guide
A little planning, a soft glow and the decorations you love. Bring out the beauty of a real tree, from the first string of lights to the ornament that always goes on last.
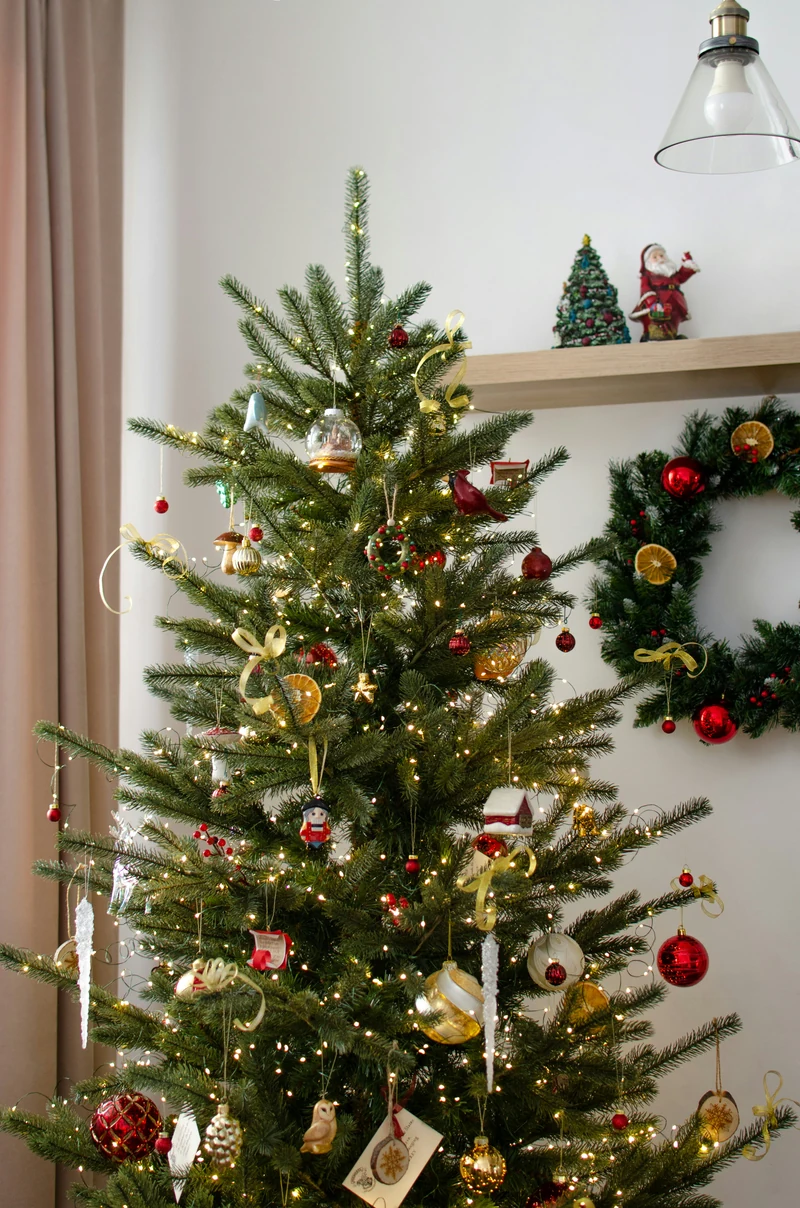
There is something lovely about the moment a real Christmas tree becomes your Christmas tree. The branches are a little uneven. One side is fuller than the other. Then the lights go on, the familiar ornaments come out of their boxes, and that particular tree begins to feel at home. If opening those boxes is one of your favorite parts of Christmas, you’re in good company.
To decorate a real Christmas tree, secure it in a water-holding stand first, add and check the lights, then layer ribbon or garland, hang ornaments and finish the base. Fit a topper while the upper branches are still easy to reach. Keep the water reservoir accessible throughout, and let the tree’s natural shape guide where the decorations go.
You don’t need a designer collection or a perfectly matching set of ornaments. A handful of repeated colors, a balance of large and small decorations, and a little space for the greenery will bring everything together. The homemade angel, the vacation souvenir and the bauble your grandmother gave you can all belong on the same tree.
This guide is for a cut real tree in a water-holding stand. A rooted tree you hope to plant afterward needs a different care plan and a much shorter indoor stay; see the living-tree question near the end.
Before you decorate
Give yourself room to enjoy the process. Clear the area around the tree, lay the decorations out where you can see them, and keep their empty boxes together for January. Put fragile pieces on a table rather than the floor. If children are helping, set aside a small selection they can handle comfortably while an adult deals with the lights and higher branches.
Choose the spot and check the fit
Measure the height available for the tree, stand and topper together, as well as the width of the floor space. Allow room to walk past without brushing the lowest branches. A tree that looked modest in a field can feel surprisingly generous beside a sofa. If you’ve ever wondered how it managed to grow on the journey home, you’ll know the feeling.
Choose the position before filling the stand and adding decorations. The U.S. Fire Administration advises keeping a Christmas tree at least three feet from heat sources, including fireplaces, radiators, heat vents and candles, and making sure it does not block an exit. A cozy corner is a good choice only if those clearances and a clear walking route still work.
If the tree stands against a wall, decide which side faces the room. In a bay window or an open room, you may want to decorate all around. Think about both the view from your favorite chair and the view from the doorway; those are often the angles that matter most.
Set it securely, then give it water
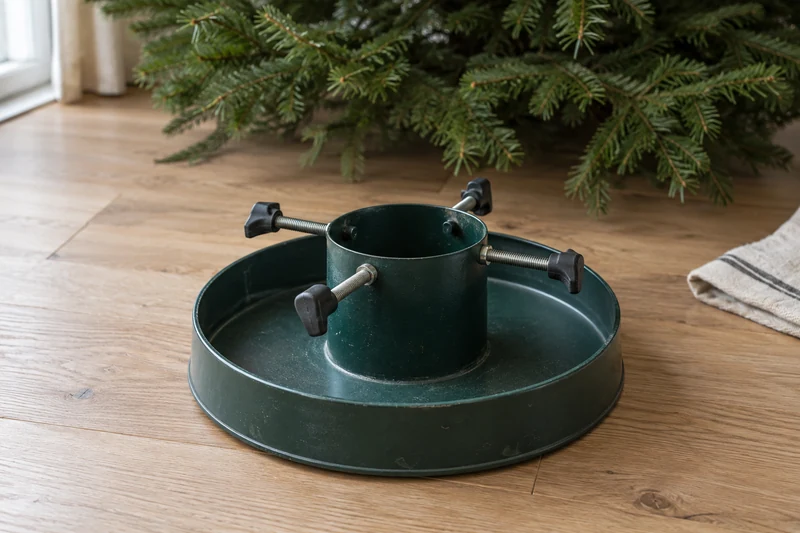
Use a stand rated for your tree’s size, with a reservoir you can reach. Follow the stand’s instructions and have another person hold the tree while you adjust it. Check that it is upright from two directions and stable before decorating. A skirt, basket or collar is a finishing layer; it does not replace a proper stand. Check a collar’s fit and instructions before setup: some one-piece covers need to go on before the tree is in place.
The National Christmas Tree Association’s care guidance recommends a fresh, straight cut across the trunk base before placing it in water. Do the sawing before setting up the tree; do not try to cut a trunk already standing in the living room. If the farm makes the fresh cut, get the tree into water promptly when you arrive home.
Do not shave the trunk’s sides to squeeze it into a small stand. The outer wood is important for taking up water. Choose a stand that fits the trunk instead. Keep the cut end submerged continuously. Check the level at the trunk: some water can remain in the reservoir while the cut end is exposed.
Stand capacity matters as much as the size printed on the box. NCTA gives a general guideline of one quart of water capacity per inch of trunk diameter. A four-inch trunk therefore calls for roughly a gallon of reservoir capacity. That is a stand-sizing guide, not a prediction of exactly how much your individual tree will drink. Check the level at least daily and more often just after setup.
Let the branches open naturally
Remove the transport netting once the tree is securely supported, following the grower’s and stand maker’s instructions. Give compressed branches a chance to settle before deciding where the decorations belong. There is no universal overnight waiting rule: start when the branches have opened enough to work with comfortably, while keeping the tree watered.
A real tree does not need artificial-tree “fluffing.” Its branches are living wood, rather than wire you can bend into a new arrangement. Work with their natural direction. If a damaged or very low branch prevents the stand from fitting, deal with that during setup rather than forcing the tree into position after it is decorated.
Pick a simple thread to tie everything together
Look at the decorations you already own before shopping. Choose two or three colors to repeat, or one material that can appear throughout the tree. Red ribbon can connect a collection of mismatched family ornaments; straw stars and wooden decorations can make a quiet woodland tree; warm white lights can soften a lively mixture of colors.
One of our favorite ways to begin is with one much-loved piece: a gold star, a tartan bow or a set of painted ornaments. Let that suggest the rest. The aim is a tree you enjoy looking at, with enough repetition to feel considered and enough personality to feel like Christmas at your house.
Gather your lights, ornaments, hooks or ties, ribbon or garland, topper, stand cover and watering jug. A stable step stool helps with higher branches; do not balance on the furniture. Keep scissors and spare hooks in a small tray so they do not disappear into the carpet.

Decorate your tree, step by step
Start with the layers that are hardest to reach later. Lights sit closest to the branches. Ribbon and garland need space to move. Ornaments finish the picture. Step back between layers: a small adjustment now is easier than untangling everything at the end.
1. Add the lights and check the glow
Check each light set before putting it on the tree. Use lights intended for the location and follow their instructions. The National Fire Protection Association’s Christmas tree safety sheet recommends lights listed by a qualified testing laboratory, replacing strings with worn or broken cords or loose bulb connections, and following the manufacturer’s limit for connecting strings. There is no single safe connection count for every light set.
Test the lights according to the manufacturer’s directions, then unplug them while positioning them. Decide how the plug will reach the outlet before wrapping the first branch. Keep cords out of walking routes, away from the water reservoir and free of pinching under furniture. Use any extension cord or timer only as its instructions permit; do not improvise electrical connections.
Warm white lights give a gentle, candlelike appearance without actual flames. Multicolored lights bring a cheerful, familiar feel. Either can be beautiful. If you mix sets, check the color and brightness together first: two packages labelled “warm white” may still look different.
There are two useful ways to cover a real tree:
Wrap around the tree. Begin at the lower branches and work upward in relaxed passes. Move some lights toward the trunk and others farther out, instead of laying the entire string on the outer tips. Let the wire rest on supported branches without winding it tightly around the wood. A little depth makes the tree glow from within.
Work in vertical sections. Divide the tree visually into several tall wedges. Run the string up and down within one section, alternating deeper and shallower placement, then move to the next. This is handy when the tree has distinct branch gaps or when walking all the way around it is awkward. Keep the visible side evenly lit, and give the edges enough coverage that they do not disappear into shadow.
You do not need to hide a light on every twig. Concentrate on a consistent glow from the trunk toward the outside, leaving the natural branches visible. Do not pull a string taut across an open gap simply to complete a perfect spiral.
When the lights are placed, reconnect them as directed and take a moment to enjoy that first glow. Then view the tree from several angles. Check it with the room lights on, then with them dimmed. A dark pocket can usually be fixed by moving a few bulbs into that area; one bright stripe often means a string has been concentrated along the outer edge. Unplug again before making adjustments.
If you need more lights, add a compatible set within the product’s electrical limits rather than stretching the existing one so tightly that it looks sparse. Choose the amount by the tree’s width, density and the glow you like. A narrow six-foot tree and a broad six-foot tree need different coverage, so height alone is a poor shopping rule.

2. Fit the topper while you can reach the top
It is easier to fit a star, angel or bow before fragile ornaments fill the upper branches. You can leave it until last for the family tradition, but check the fit and any electrical connection now.
Match the topper to the strength of the upper stem, not just the height of the tree. A heavy ornament on a thin leader can lean even when it looks proportionate. Try a lighter topper, a fabric bow or no topper at all if the top cannot support the one you have.
Use the attachment supplied with the topper and follow its directions. A sleeve or coil needs a secure fit; do not force it down over a delicate tip. If a topper needs extra support, use a purpose-made support compatible with it rather than piercing the trunk or relying on a loose ornament hook. For a lit topper, arrange the lead as instructed and include it when checking connection limits.
View it from the doorway. A small natural lean may be charming, but a topper that keeps slipping needs a different attachment or less weight. Make that correction before carrying on.
3. Layer ribbon and garland
Ribbon is optional, but it is especially useful for linking different ornaments or softening an open area. Choose a ribbon light enough for the branches. Wired fabric ribbon is easier to shape; unwired ribbon makes softer bows and drapes. If it contains wire, fold or secure cut ends so sharp edges are not left exposed.
Give yourself a little room to experiment with ribbon. If the first few tucks look awkward, a looser loop or a different branch can change the whole effect.
For a gentle cascade, use several manageable lengths rather than trying to control one enormous roll. Begin high in the tree. Tuck one end beside a sturdy branch, let the ribbon make a loose outward curve, then tuck it farther down. Continue in broad, uneven waves. Repeat in another part of the tree, with a little variation so the lines do not look like straight rails.
For a wrap-and-tuck look, take the ribbon around the tree in loose diagonal passes. Pause where a natural branch opening gives you a place to tuck it inward. Keep the bands spaced generously and let some greenery show between them. Pulling tightly creates a belt around the tree and can drag the branches down.
For individual bows, tie several first and place them in a loose triangle: one higher, one lower to the left and another farther across. Repeat where needed. Bows are an easy way to use short leftover ribbon and can suit a sparse tree better than a continuous wrap.

You can begin with a single ribbon about two to three inches wide as a styling option, then see how it looks against your particular branches. A small tabletop tree may suit something narrower; a broad tree can carry a wider ribbon. These are proportions to try, not a required shopping list.
Rest each tuck on a branch that can support it, or use a soft reusable tie where needed. Do not staple, glue or cinch ribbon tightly onto the tree. Avoid pulling adjacent branches together to manufacture a place to attach it.
For bead strands or other garland, drape relaxed scallops between sturdy support points. Hang heavier strands farther in toward the trunk, where the branches can carry them. Keep strings from slipping into the stand or trailing onto the floor. If you use both ribbon and garland, make one the main feature and the other quieter; leaving out a layer can be the prettiest choice.
4. Hang the ornaments in layers
Bring out the ornaments that matter most first. If there’s one you look for as soon as the boxes come out, give it a spot you’ll enjoy seeing every day. Then build the rest of the arrangement around those favorites. This prevents your favorite pieces ending up wherever space happens to remain.
Next, place the largest or visually strongest ornaments. Spread them across the height and width of the tree, rather than gathering every large piece at the bottom. If one is physically heavy, its position must still be governed by a sturdy branch: good visual balance never makes a weak branch stronger.
Put heavier decorations closer to the trunk on branches that hold them securely. Keep lighter baubles, paper pieces and small ornaments toward the finer tips. Watch what happens when you release each piece. If the branch droops sharply or the hook starts to slide, move the ornament to stronger support.
Hang some decorations a little farther inside the tree. They catch the light between branches and give the outer ornaments a softer background. Leave enough space that they can be seen; an heirloom buried in dense greenery will not add much to the finished tree.

Then add medium and small ornaments. Repeat your chosen colors in different parts of the tree. A simple way to avoid stripes is to imagine loose triangles, with the same color appearing high, lower on one side and across on the other. Vary the distances and step back occasionally so the arrangement stays relaxed.
Mix finishes as well as sizes. Matte ornaments give shiny baubles a place to stand out. A few fabric, wood or paper pieces add texture beside glass. You do not need every ornament to face the same way, but turn the special ones so their painted details are visible from the room.
For hangers, use secure hooks or ties suited to the ornament and close open hooks around the supporting branch where appropriate. Check older loops and caps before hanging delicate pieces. Do not hang one ornament from the cord of a light set or from another ornament.
Finally, make a slow circuit of the tree. Look for crowded clusters, repeated colors sitting too close together and empty spaces that feel accidental. Move a few pieces rather than filling every gap. A real tree should still look like a tree.
5. Finish the base without hiding the water
Choose a skirt, collar or basket that works around the secure stand. A simple fabric skirt is easy to lift for watering. A collar can give a tidy finish, but only if you can still see the water level, reach the reservoir and remove it when necessary.
Try watering once with the cover in place before arranging presents. Leave an opening for your jug and a way to inspect the level. If reaching the reservoir requires moving the tree or kneeling among glass ornaments every morning, change the cover now.
Protect the floor as appropriate for your stand and flooring, while keeping the base level and stable. Do not let fabric fall into the reservoir or cover electrical connections. Keep gifts and decorative boxes clear of cords, the water opening and the route through the room.
A base does not need elaborate styling. A plain skirt, one ribbon color repeated on a few packages and the lowest branches left visible can look beautifully settled. Once everything is in place, enjoy the tree from your usual seat. That is a better final test than standing inches from an individual bauble.
Christmas tree looks to make your own
A style is a starting point, not a rule that excludes a favorite decoration. These combinations work with real greenery and can be built from things you already have.
A classic red-and-gold Christmas
Begin with warm white lights and repeat red in ribbon or several ornaments. Add gold in a few finishes, such as matte baubles, a small star and a delicate strand of beads. Let the green branches remain part of the palette. If the tree begins to look busy, remove a little garland before removing the ornaments with memories attached.

A gathered family tree
Bring together school crafts, souvenirs, inherited glass and the funny ornament someone gives you every year. There’s something comforting about seeing those familiar little shapes again, even when they have very little in common. Use one light color and one repeated ribbon or bauble color as the thread between them. Spread the handmade pieces through the tree instead of confining them to a single patch. Place delicate keepsakes higher or farther in, and give children a comfortable area for sturdy favorites.
A quiet woodland tree
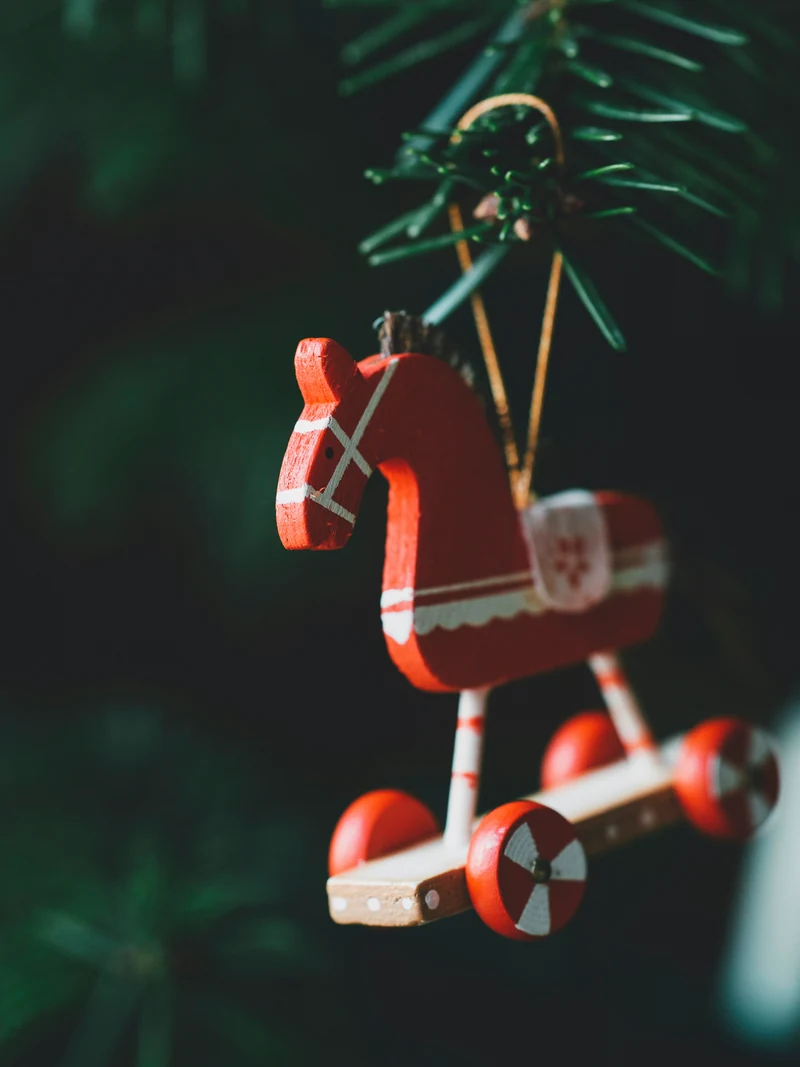
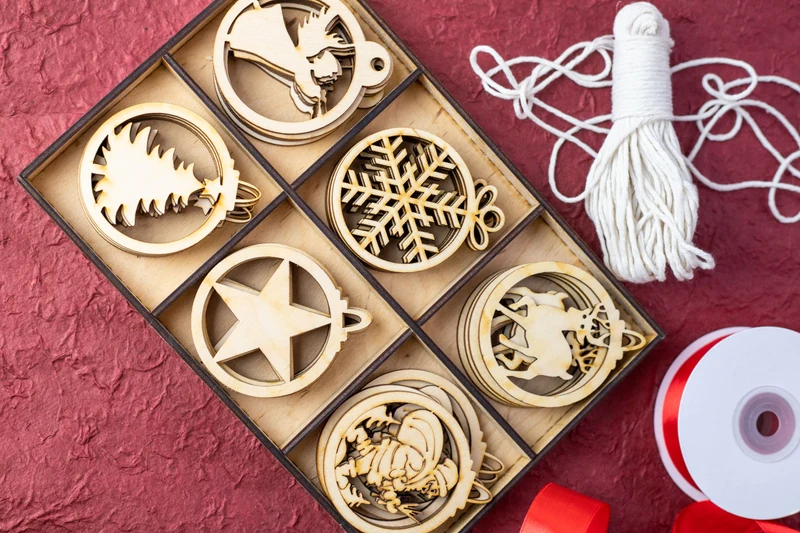
Try cream, brown, soft gold and natural textures. Wooden shapes, felt ornaments, paper stars and a few pinecones can suit an open tree beautifully. Keep the decorations light and the ribbon restrained. Natural materials are still decorations to hang securely and keep away from flames; edible or scented pieces may attract pets.
A cheerful tree full of color
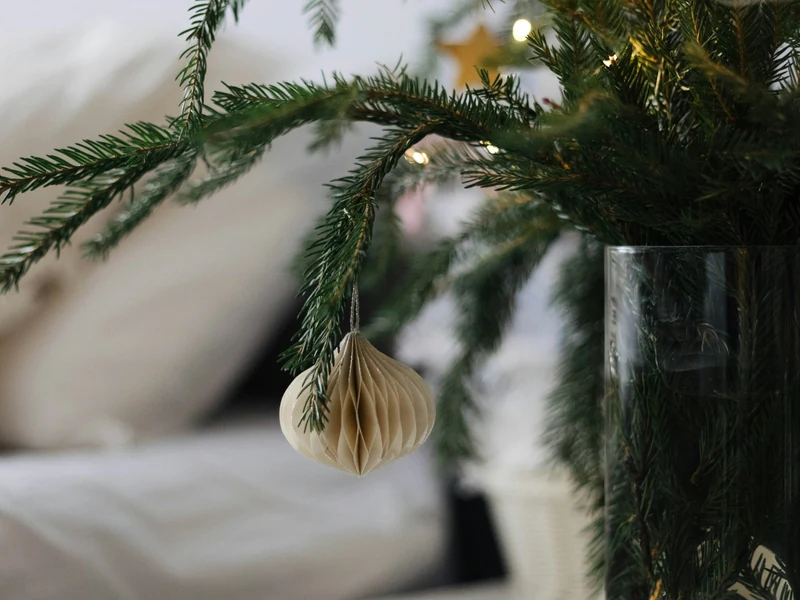
Use multicolored lights or choose several bright ornament colors. Repeat each color around the tree, then add a quieter ribbon if you want one. A colorful tree can still have breathing room: leave gaps between larger decorations and resist adding every strand of tinsel simply because it is in the box.
If you want a more coordinated look on a small budget, repeat one thing you already own before buying several new ranges. A roll of ribbon, a few paper stars or a modest set of plain baubles can connect a much larger collection.
Work with your tree’s natural shape
Real trees differ in width, branch strength and how much space they leave between layers. Choose the decorations for the tree in front of you. A technique that looks lovely on a full fir may feel heavy on a slender pine.
Sparse branches and open spaces
On an open tree, ornaments can hang freely and show their whole shape. Choose a few larger, lightweight pieces rather than filling every opening with lots of small ones. Use lights deeper in the tree to give the gaps a glow, and add a relaxed ribbon tuck or bow where an opening feels too bare.
Keep some open spaces. They let you see the trunk, the layered branches and the decorations beyond. Do not pack them with fabric or unrelated greenery just to imitate a denser tree.
A dense tree
A full tree may hide ornaments unless they sit nearer the outside. Put a few reflective pieces farther in where light can reach them, then let the more detailed ornaments hang just beyond the greenery. Shorter loops can stop pieces disappearing into the branches. Use less ribbon if it begins to cover the tree’s shape.
Soft branches and heavy ornaments
Species gives you a starting point, although individual branches still need checking. Iowa State University Extension’s species guide describes Fraser fir’s stiff branches and white pine’s softer branches, which are less suited to heavy ornaments.
If your tree has flexible tips, use lightweight paper, felt, wood or small baubles there. Reserve the stronger inner branches for heavier pieces. A large glass ornament can also sit safely in a bowl elsewhere in the room if the tree cannot support it. You do not have to risk a keepsake to include it in your Christmas decorations.
One bare side or an uneven outline
Orient the tree during setup so the side you like best faces the main view. Then balance the visible sides with decorations. A pale ornament, a bow or a small group of lights can draw the eye into a thinner area without making its branches look artificially full.
Avoid loading the bare side with heavy ornaments. If the tree itself leans, correct the stand before decorating; decoration placement is not a way to stabilize it. If only the outline is uneven, let it be a little uneven. Those little quirks are often what make us fall for a real tree in the first place.
A narrow room or a tabletop tree
Choose a tree whose width fits the space rather than squeezing a broad tree between furniture. On a small tree, reduce the scale of the ribbon and topper, use shorter drapes and leave room between ornaments. A few carefully placed pieces can be enough.
For a tree against a wall, focus detail on the visible front and sides while keeping the glow balanced at the edges. Position it far enough from the wall that branches, cords and decorations are not crushed, while preserving heat clearance and access to the stand.
Keep it lovely through Christmas
The daily routine can be simple: check the water, tidy anything that has shifted, and switch the lights off when you leave or go to bed. A beautifully decorated tree still needs the same care as an undecorated one.
Keep plain water above the cut end
Use plain water. Iowa State’s Christmas tree care guide advises against sugar, aspirin, soft drinks and commercial additives. NCTA also says water temperature does not affect uptake. There is no need to make a special recipe for the stand.
Check the actual level rather than judging by whether the reservoir looks large. Set a daily reminder if that helps, and check more often in the first days. Tell whoever is watering the tree where the opening is; a pretty collar should never make that task a guessing game.
If the cut end has been exposed because the stand ran dry, simply adding water may not restore uptake. Ask the grower about the next step. Making a new cut requires safely taking the tree down and resetting it; do not attempt it while the tree is standing and decorated. A dry tree should be removed rather than kept indoors for its appearance.
Make the lights part of the evening routine
NFPA advises turning tree lights off before leaving home or going to bed and never using lit candles to decorate a tree. Follow the instructions for your lights, timer and other electrical decorations. A timer can help with a routine, but it does not make damaged cords or unsuitable connections safe.
Keep the original three-foot heat clearance as the room fills with presents and extra decorations. Do not move a heater beside the tree or place a candle beneath its branches for a photograph.
With children and pets
Use sturdy, nonbreakable decorations on the lower branches and keep glass, sharp hooks and small loose parts out of reach, following the Consumer Product Safety Commission’s decorating guidance for homes with young children. Secure decorations so they are less easy to pull off. Keep the stand water inaccessible to pets while retaining adult access for watering; do not rely on additives or an improvised cover that destabilizes the tree.
The ASPCA’s holiday safety guidance highlights tinsel, ornaments and cords as hazards for pets. Skip loose tinsel in homes with animals, manage cords and consider a suitable barrier if the tree attracts chewing or climbing. Keep edible decorations and salt-dough ornaments out of reach, too; a food decoration that looks charming to you may look like a snack to a dog.
Choose the routine for your household. Children can help place sturdy ornaments with an adult nearby, while pets may need the decorating area closed off. No ornament placement makes a tree safe to climb, and “natural” does not mean harmless to chew.
Fix the most common decorating problems
The lights have a bright stripe and dark patches
Check the tree from a few feet away with the room lights dimmed. Unplug before moving the string. Spread bulbs between inner and outer branches instead of leaving them all along one horizontal line. Move a few into the dark area before adding another set. If a section of lights is faulty, deal with the light set according to its instructions rather than concealing the problem with ornaments.
The ribbon looks tight or flat
Release a few tucks and make the loops larger. Let the ribbon move forward and back through the branches rather than circling the tree at one depth. Short lengths are easier to arrange than a long continuous band. If the tree is small or very open, try individual bows instead.
The ornaments all seem to disappear
Move the detailed pieces closer to the visible edge and shorten very long loops. Check whether dark ornaments are hidden against dark greenery; a small light nearby or a paler neighbor may help. Keep a few pieces deeper in for depth, but do not put every favorite near the trunk.
One branch keeps sagging
Remove the weight and choose a lighter decoration or a sturdier branch closer to the trunk. Check for several ornaments or a heavy strand of garland sharing the same support. Do not pull the branch upward with a light cord or wire it tightly to the one above.
The topper leans
Check its attachment and the strength of the upper stem. Try a lighter topper or a bow if the leader cannot carry it. If the whole tree leans, revisit the stand with help; shifting ornaments around will not solve the underlying problem.
The tree looks crowded
We’ve all been tempted by “just one more” decoration, especially when the boxes still hold old favorites. If the tree is starting to feel crowded, take away one decorative layer and look again. Ribbon plus beads plus tinsel plus many large ornaments can hide even a broad tree. Move a few pieces into the room’s other decorations and leave visible greenery around the favorites that remain. You can love an ornament without putting every one on the tree every year.
Watering has become awkward
Move presents and lift or remove the skirt or collar until the reservoir is easy to reach. Keep the tree itself in place. Practise with your jug before replacing the cover, and leave a clear opening. If the decoration makes you put off watering, simplify the decoration.
Real Christmas tree decorating questions
How long should a real tree stand before you decorate it?
There is no fixed wait that every tree needs. Secure it, put it in water and allow netted branches to open enough to see their shape. Decorate when it is stable and you can work without forcing compressed branches. Keeping it watered matters more than waiting an arbitrary number of hours.
Do lights, ribbon or ornaments go on first?
Lights first, then ribbon or garland, then ornaments. That order lets you reach the branches and make adjustments before fragile pieces are in the way. Check or fit the topper early; add the stand cover after confirming you can still water the tree.
How many ornaments or lights do I need?
There is no required total. Width, branch spacing, ornament size and your preferred level of decoration matter as much as height. Start with your favorites and the lights you have, check the result, and add only what improves it. Follow electrical connection limits even if you want a brighter look.
Can you use ribbon on a real Christmas tree?
Yes. Let it rest in loose curves or secure it gently with suitable soft ties. Match its weight to the branches, keep it clear of the stand water and electrical connections, and leave room for greenery. You do not need to bend the real branches into artificial-tree shapes.
What if my family ornaments do not match?
Repeat one color, ribbon or material through the collection. Spread the most distinctive pieces around the tree and mix sizes and finishes. A tree full of memories can feel balanced without becoming a matching set.
Can I decorate a potted tree the same way?
The visual layers can be similar, but its care and indoor schedule are different. A rooted tree needs a stable container, appropriate moisture and a plan for acclimation and planting. For dormant outdoor evergreens in its winter conditions, Iowa State’s living-tree guidance recommends limiting indoor display to about seven to ten days. Ask a local nursery about your species, climate and indoor display plan before bringing it inside. A cut tree placed in a stand cannot be replanted afterward.
When is a real tree too dry to keep indoors?
Dry, brittle foliage and substantial needle loss are reasons to assess the tree rather than cover the problem with more decorations. Some inner needle shedding can be normal, but a tree that has dried out should come down. USFA and NFPA advise removing trees when dry; the date on the calendar is not a reason to keep one until a planned celebration.
When the decorations come down
Switch off and unplug the lights and any electrical topper before you start. Then work gently in roughly the reverse order. Clear the presents and stand cover, remove ornaments and pack delicate pieces first, then take down ribbon, garland, the topper and lights. Check the branches for forgotten hooks, ties and ornaments before carrying the tree out.
Use a sheet or a purpose-made tree bag to help contain fallen needles during removal, without leaving a wrapped tree indoors as storage. Check your local recycling or collection instructions: accepted sizes, collection dates and whether trees must be completely bare vary by location. The National Christmas Tree Association’s recycling guide offers ideas and directs readers to local programs. Never burn a Christmas tree in a fireplace or wood stove.
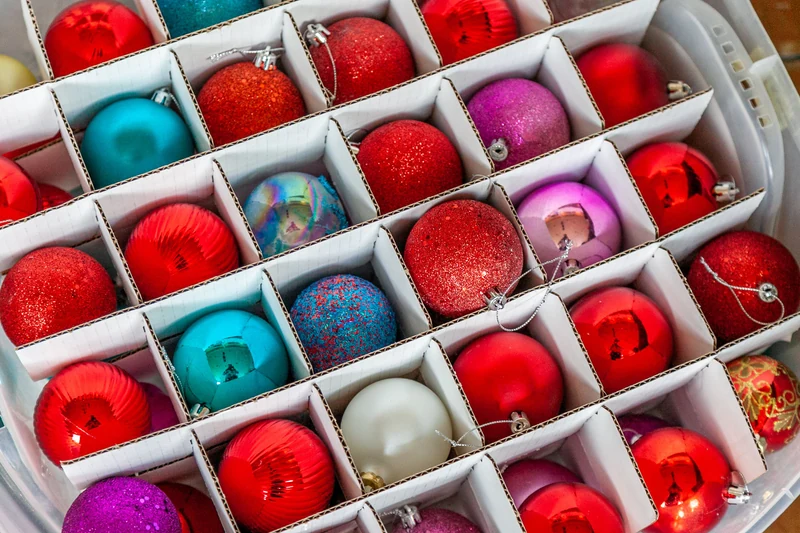
Before closing the decoration boxes, make a small note of what worked: which light sets you used, the topper that fitted, the ribbon you liked and the spot you left open for watering. Your December self will thank you for those little notes, especially when you’re looking at a fresh tree and wondering where to begin.
And if the tree is still the part you are looking forward to choosing, find a Christmas tree farm or browse farms by state. For help with the calendar, read when to bring a real Christmas tree home. Leave room for its natural shape, bring out the decorations that mean something to you, and make a little time to enjoy the glow.